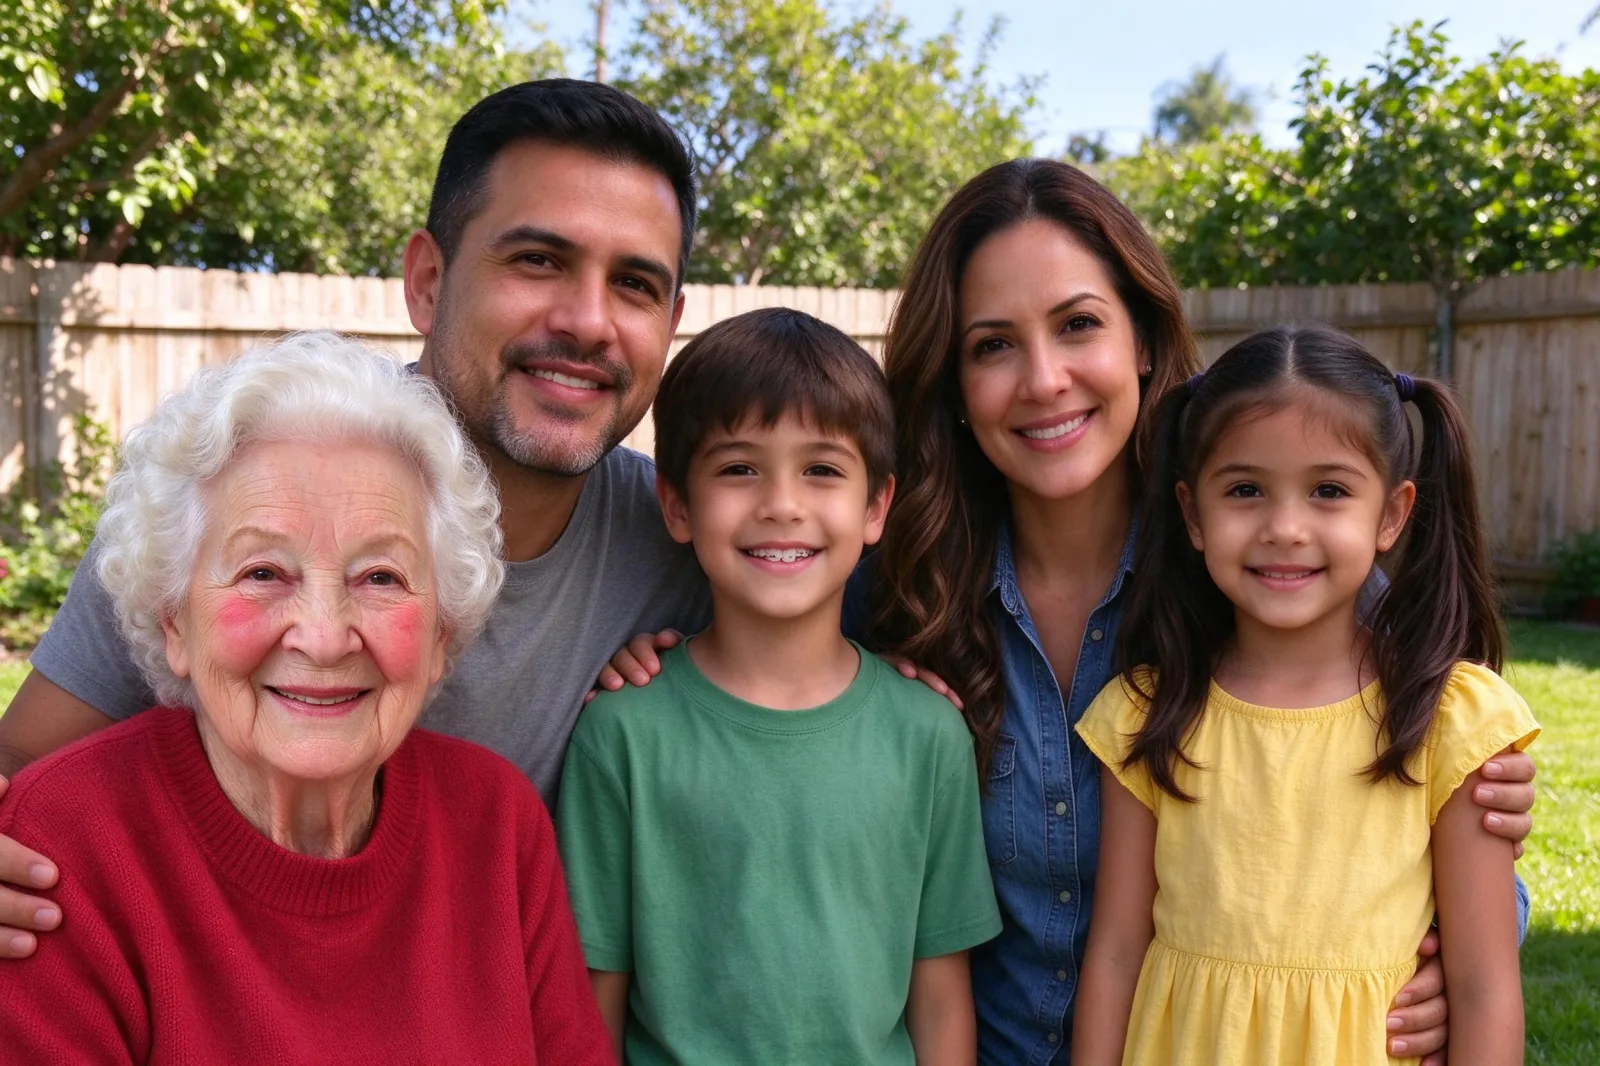
How to Restore Old Photos: Scan, Repair and Check
How to restore old photos step by step: scan the print, pick only the repairs it needs, compare every face with the original and keep the untouched scan safe.
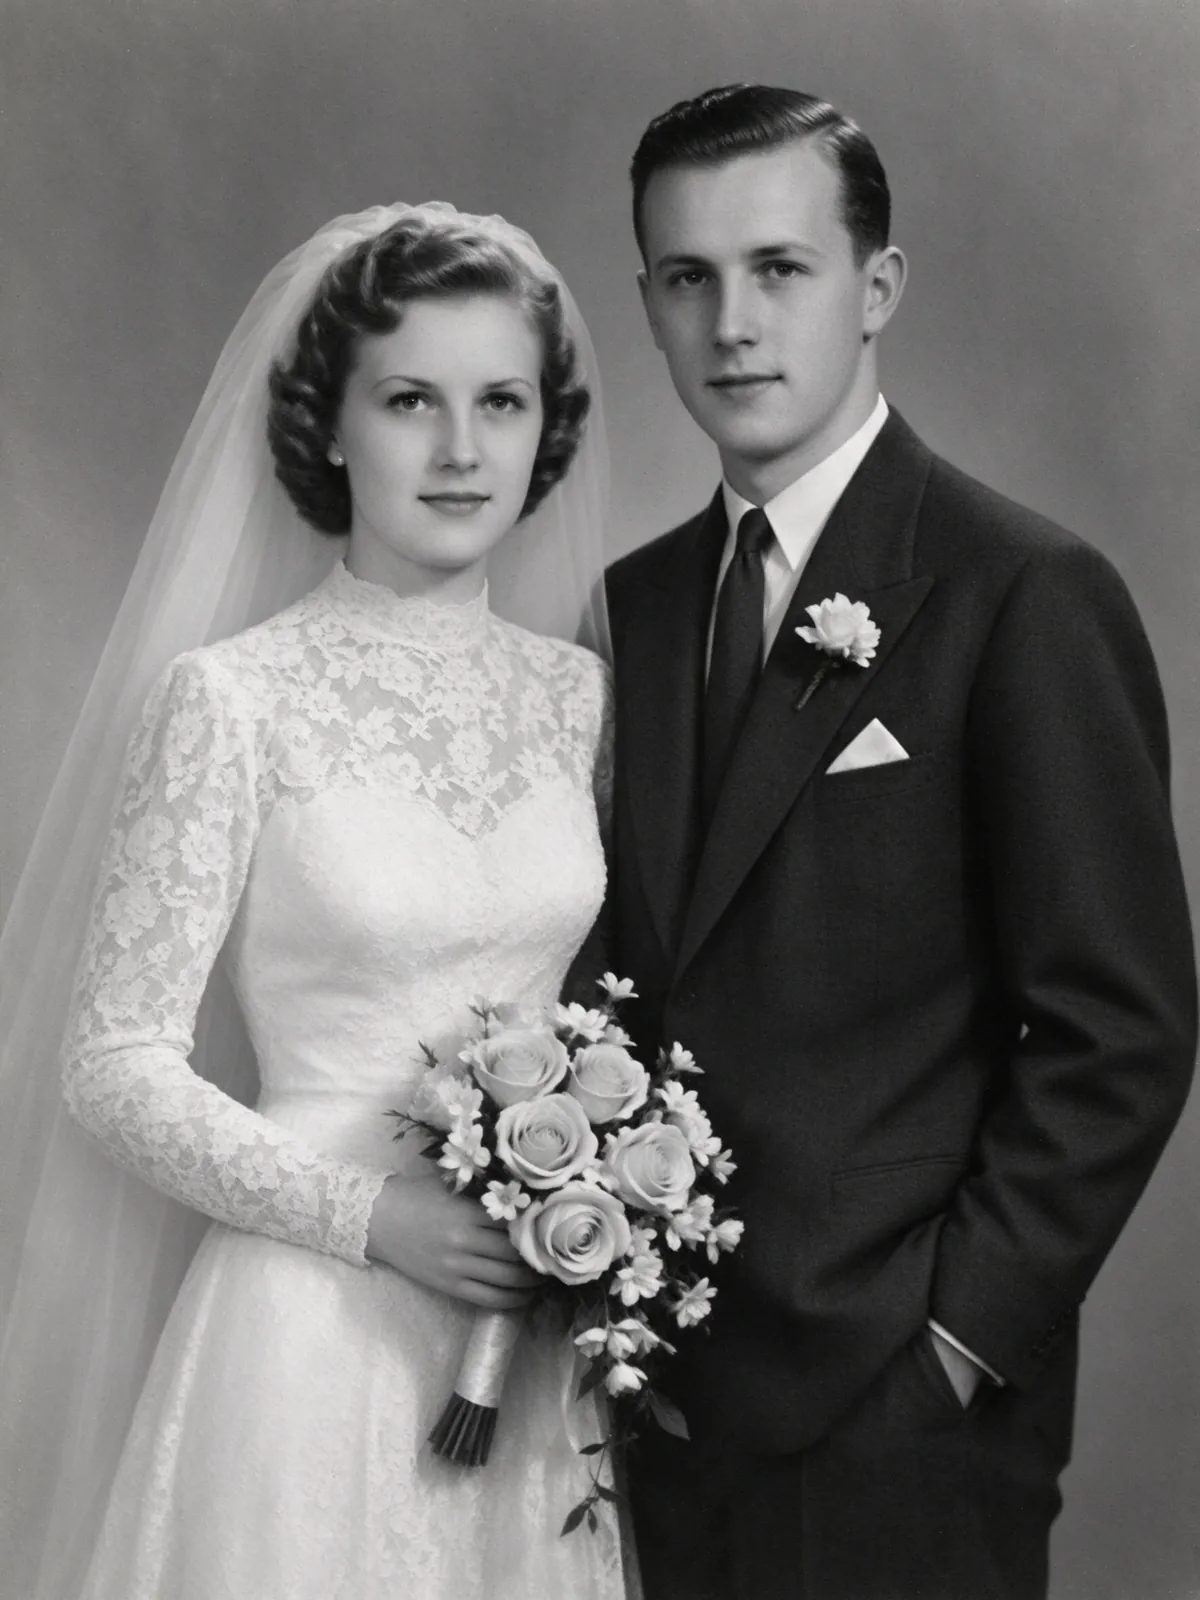
There is a shoebox of prints in almost every family. Some are scratched, some have a fold right through a face, and most have turned yellow or brown. This guide explains how to restore old photos with an AI tool without losing what made them yours: how to scan the print, which repairs to switch on, and how to check the result before anyone shares it.
The steps use VibePico's old photo restoration tool, but the scanning and checking advice works with any restorer.
How to restore old photos: the short version
- Scan the print, or photograph it flat in daylight.
- Upload the file and switch on only the repairs it needs.
- Check the 10-credit fee and start the restoration.
- Compare the result with the original, face by face, with the slider.
- Download the 2K copy and keep the untouched scan as well.
The rest of this guide covers each step and the mistakes that cause a bad result.
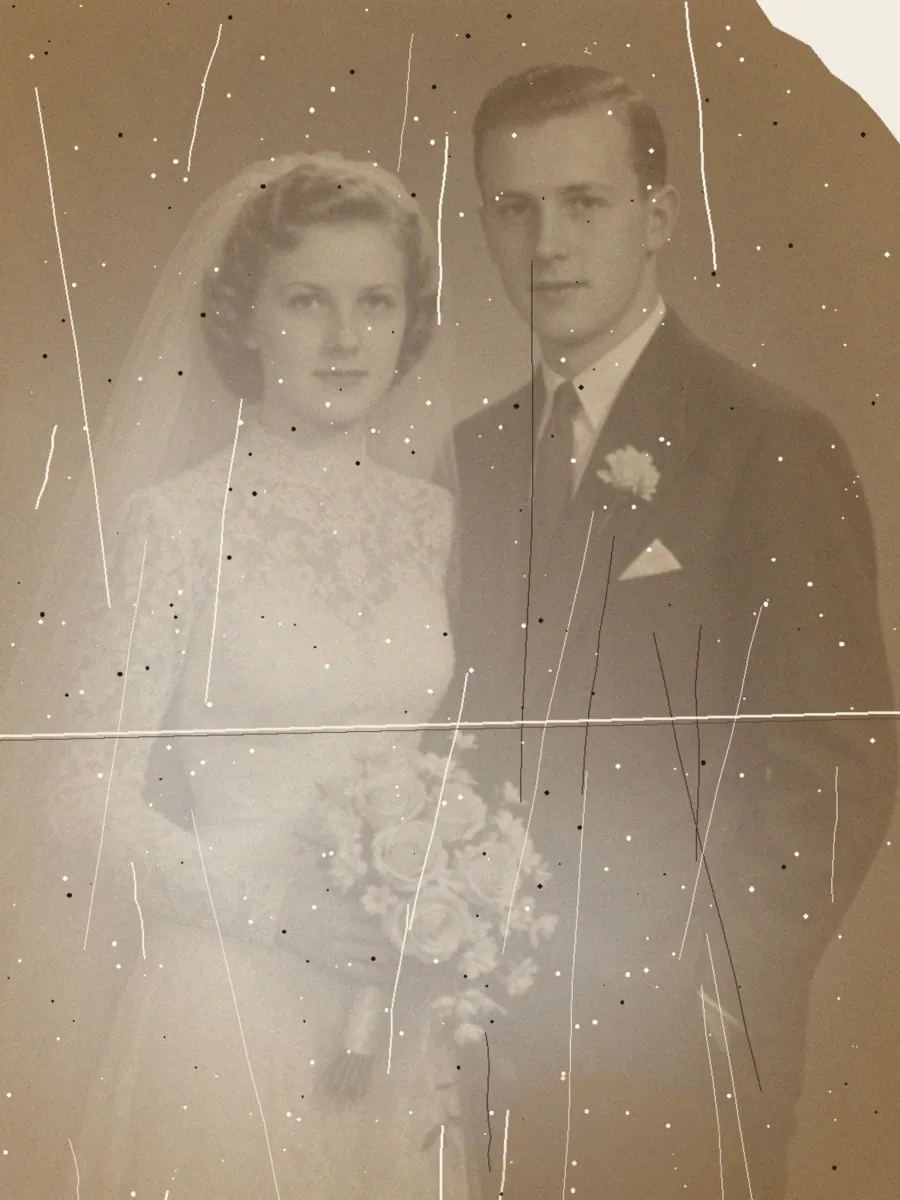
The picture at the top of this page is the restored version of this print. Scratches, the crease and the dust are gone, the torn corner is filled with plain backdrop and the brown cast is now neutral black and white.
Step 1: Get a clean copy of the print
The restorer can only work with what it can see. A good source file does more for the result than any setting.
Scan it if you can
A flatbed scanner records the whole print with even light and no lens distortion. The Library of Congress publishes guidelines for digitizing library materials if you want the archival details. For a family print, a plain color scan at a generous resolution is enough.
Or photograph it the right way
A phone photo of the print works too. Take the photo out of its frame or album sleeve first, because glass and plastic throw reflections. Lay it flat by a window, out of direct sun, and hold the phone straight above it. Fill the frame with the picture and crop off the table around it.
Glare and shadows matter more than people expect. The model treats a bright reflection like damage and "repairs" it, which can wipe out real detail.
The tool accepts JPG, PNG, WebP and HEIC files up to 10 MB, and prepares the photo on your device before anything is uploaded.
Step 2: Choose only the repairs the photo needs
The old photo restoration tool has four separate switches, and at least one has to be on:
- Scratches and tears: removes cracks, fold lines, torn edges and missing corners.
- Faded color: brings back contrast and clean whites in yellowed or washed-out prints.
- Blurry faces: sharpens eyes, hair and facial edges.
- Black-and-white colorization: adds natural color in the same pass. It is off by default.
Turn on what you need and leave the rest off. A photo with dust but sharp faces does not need face sharpening, and every extra repair is one more place where the model redraws something.
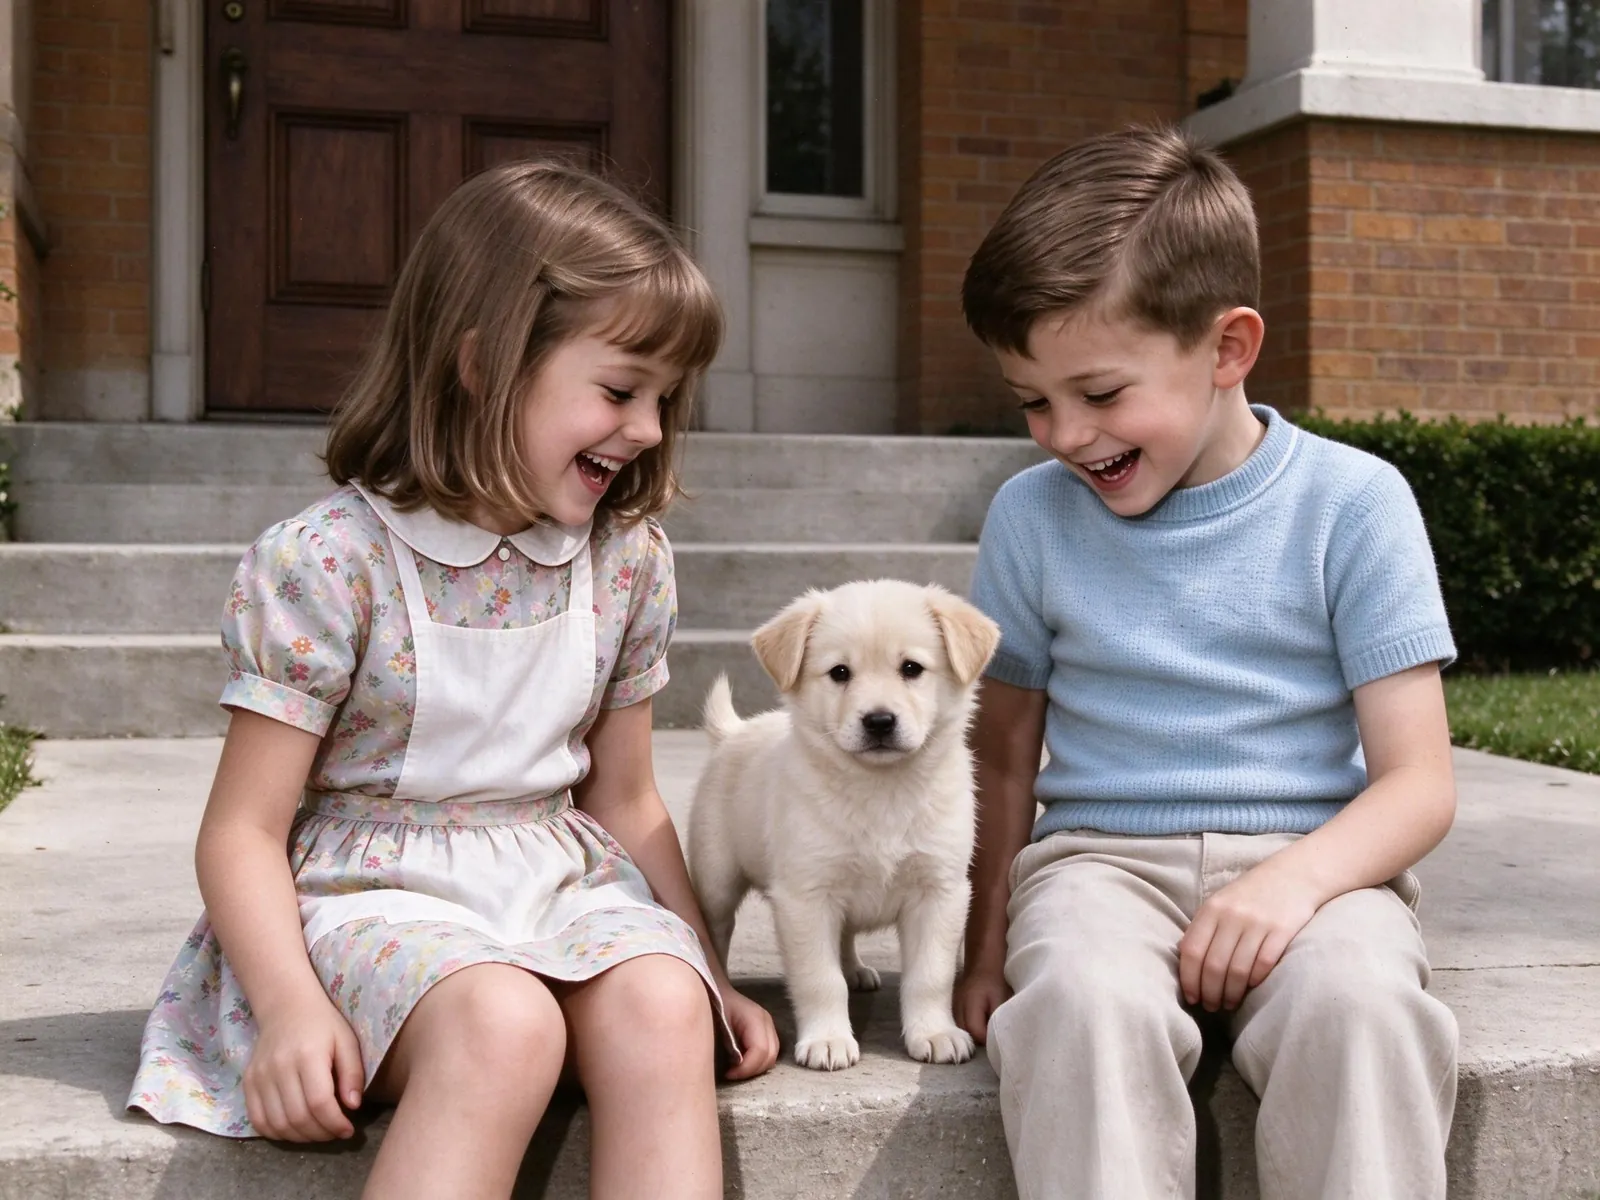
If color is the main goal, the guide on how to colorize black and white photos explains what the colorizer guesses and what it cannot know.
Which damage is easy and which is hard
Long scratches across a plain background are the easiest case. Dust, small spots and grain are close behind. A tear through a face is the hardest, because the model has to invent the missing part of that face.
Step 3: Start the restoration and wait a minute
Sign in, confirm that you have permission to edit the photo and check the fee on the button. One restoration costs 10 paid credits for one 2K image, whichever repairs you choose. The free signup preview credits do not cover photo edits.
Most restorations finish in under a minute. You can leave the page; the result is saved to My photos. If the generation fails on the provider side, the credits are returned.
Step 4: Compare every face with the original
This is the step people skip, and it is the one that matters most. Drag the slider across the result and look at each person in turn:
- eyes, eyebrows and the shape of the mouth;
- the hairline and any glasses;
- jewelry, badges and medals;
- any area that was missing in the original print.
In our example, the bouquet was a soft blur in the damaged print. In the result it has clearly shaped roses. That detail is a reconstruction, not something recovered from the photo. Lace on the dress was sharpened the same way.
If one face looks wrong, run the restoration again from the same original. Do not restore the restored file: each pass redraws details, so repeated passes drift further from the real photo.
When AI is the wrong way to restore a photo
AI restoration is fast and cheap, but it is not the answer for every print.
- A face is mostly missing. The model will draw a plausible face, not the real one. A human retoucher can work from other photos of the same person and ask you questions.
- You need an archival copy. A restored file is a new image. Keep a high-resolution scan of the untouched print, and store the original as the Library of Congress suggests in its care, handling and storage of photographs guide.
- There are only one or two small marks. A healing brush in any photo editor fixes them without regenerating the rest of the picture.
- Text, signs and medals matter. Handwriting and printed patterns can come back garbled or simplified.
The National Archives has a plain-language guide on how to preserve family archives, and the NEDCC leaflet on care of photographs covers the physical print.
Common mistakes when restoring old photos
Shooting the print inside its frame. Reflections hide detail and get repaired as damage.
Switching every repair on. More switches mean more redrawn detail. Start with the damage you can see.
Trusting the first result for a print. Check it at full size before ordering a large print. The 2K output suits screens and home prints up to roughly postcard or small frame size.
Sharing it as the original. Label restored copies, especially on genealogy sites, so nobody mistakes the edit for the untouched photograph.
Frequently asked questions
Can I restore a photo without making it color?
Yes. Leave black-and-white colorization off and the tool keeps the original palette. You can still repair damage, recover faded tones and sharpen faces.
Will restoring old photos change the people in them?
The instructions ask the model to keep the same people, poses, clothing and background, but generated details can differ, especially on small or badly damaged faces. Always compare the result with the original.
How much does it cost to restore an old photo?
One 2K restoration costs 10 paid credits. The pricing page lists the credit packs. Signup preview credits are for family photos and do not cover edits.
What happens to the photos I upload?
Uploaded photos stay private to your account and are deleted after 24 hours. Results stay until you delete them. The AI photo generator privacy guide explains retention in plain words.
Can I add someone after I restore the photo?
Yes. Once the print is clean, you can add someone to that picture from a separate portrait. That is a second 10-credit edit.
Restore old photos with VibePico
Now you know how to restore old photos: get a clean scan, switch on only the repairs you need and compare every face before you share. When you are ready, open the old photo restoration tool, upload the scan and check the result against the original with the slider.